By Claire Whitaker
Updated November 2026
Yoga blocks hip abduction work is a simple way to build outward hip range and control without forcing the joint. Placing a block between your legs or along the outside of your thigh gives you a fixed point to push against, so you can feel the muscles that move your legs away from the midline. This guide walks through setup, three beginner positions, and the mistakes that most often cause strain.
What Hip Abduction Does and Why Blocks Help
Hip abduction is the movement of drawing the leg away from the body’s center line. The gluteus medius, gluteus minimus and tensor fasciae latae do most of the work, and they often feel weak or unused in people who sit for long periods. A block provides resistance you can control in both directions. It also keeps the pelvis level, which is harder to do when the leg moves freely. For more hip work in general, see Yoga Poses for Hip Relief: 6 Steps to Looser, Easier Hips.
Shopping for one? See our guide: Yoga Blocks for Tight Hips: 7 Best Picks Compared for Home Practice.
Setup and Basic Alignment
Before you start, set up your space and body so the block does the guiding rather than your lower back.
- Use a standard yoga block on its lowest, flattest side. A firm surface prevents it from tipping.
- Lie on your back on a mat with knees bent and feet flat, hip-width apart.
- Check that your pelvis is neutral. Your lower back should rest gently on the floor, not arch sharply.
- Keep your neck long and your shoulders relaxed. Tension in the upper body usually spreads to the hips.
If your knees or hips feel sharp pain rather than mild effort, stop and consult a physical therapist or doctor before continuing.
Three Beginner Hip Abduction Positions with a Block
Position 1: Supine Block Squeeze
Place the block between your knees while lying on your back with knees bent. Squeeze inward gently for 5 seconds, then release for 5 seconds. Repeat 8 to 10 times. This builds inner-thigh engagement first, which supports the outer-hip work that follows.
Position 2: Supine Outward Press
Position the block just outside your right knee, then press your knee outward into the block while keeping your foot in place. Hold for 5 to 8 breaths, then switch sides. Keep the pelvis still; if it rocks, reduce the force.
Position 3: Standing Side Leg Lift with Block Support
Stand beside a wall, holding it for balance, with a block placed against the wall at ankle height. Lift the outside leg slowly to about hip height, keeping the toes forward. Lower over 3 seconds. Complete 8 to 10 lifts per side. Teachers often describe this as a useful bridge into standing balance work.
Common Mistakes to Avoid
- Pushing too hard. Abduction work should feel like steady effort, not a strain in the groin.
- Letting the pelvis tilt. A rocking pelvis means the lower back is doing the work instead.
- Holding your breath. Keep breathing slowly throughout each hold.
- Rushing reps. Slow lowering builds more control than speed does.
- Skipping warm-up. Five minutes of gentle movement helps the hips respond better.
Recommended Gear
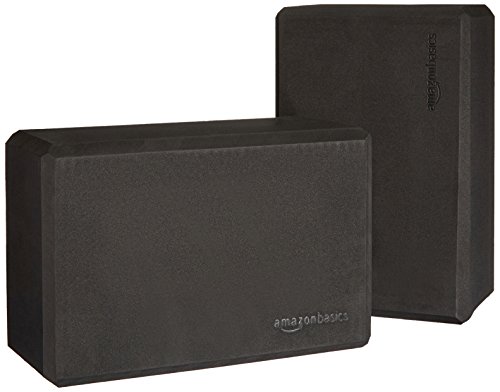
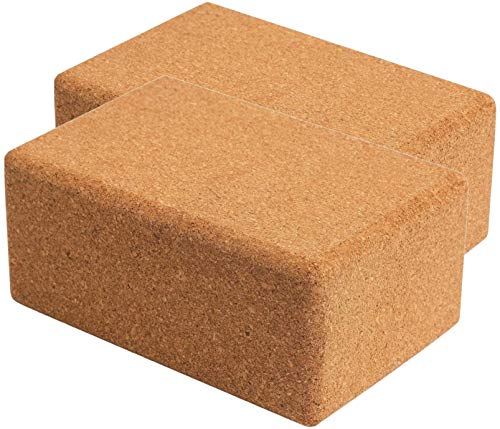
A firm block with a flat side keeps positions stable, which matters most when you are learning alignment. Look for a cork or foam block, since both grip the floor and the leg well.
A non-slip mat under you helps prevent the hips from sliding during supine work. View on Amazon
A yoga strap can help you hold a leg position without losing alignment when you are first building range. View on Amazon
FAQ
How often should I practice hip abduction with blocks?
Three to four short sessions per week is a common starting point. Stop if any pain increases the next day.
Can I use two blocks at once?
Yes, once you are comfortable with one. Stacking two blocks increases the height and can support the leg more. Keep both on firm, level ground.
Which yoga poses pair well with hip abduction work?
Gentle hip openers complement this work well. You can explore Yoga Hip Openers for Beginners: 6 Gentle Poses to Start With after you finish your abduction practice.
Conclusion
Yoga blocks hip abduction practice builds outer-hip strength and control with simple, low-impact movements. Start with the supine positions, keep the pelvis steady, and progress slowly. Consult a qualified professional if you have an existing hip injury or condition.
Related reading
- Yoga Postures with Blocks: 6 Step-by-Step Poses for Better Alignment
- Yoga Poses with Blocks: 6 Steps to Better Alignment and Support
- Yoga Mat and Blocks Set: How to Choose and Use One for Home Practice
Ready to choose one?
About Claire Whitaker
Claire Whitaker is part of our editorial team and reviews and edits our yoga guides, checking product details against manufacturer specifications and owner feedback.